Choose what matters.
Show, hide, or reorder stream measurements. For photos, choose upload details, queue size, and what happens while idle.
 SYRONIUSFRAME
Bring stream health and photo upload progress into OBS. Choose the information, match it to your scene, and add it with a Browser Source.
Part of FRAME. Runs on your own computer.
01 Captured from FRAME
These screenshots come from a configured FRAME upload overlay. Its saved colors, text, sizing, and queue settings are shown with FRAME’s built-in sample activity.
This setup uses compact text, colored stages, and a queue that fades the later cards. The first photo keeps the detail; the others stay in view.
This is one person’s saved configuration. FRAME lets you choose a different appearance.
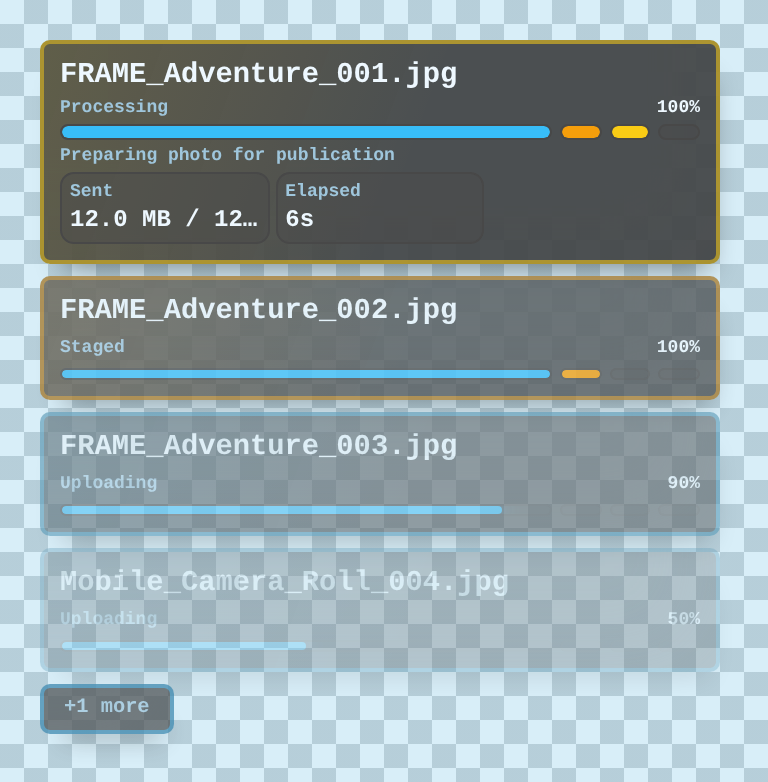
The filenames and transfer values below are built-in examples. They are not live uploads.
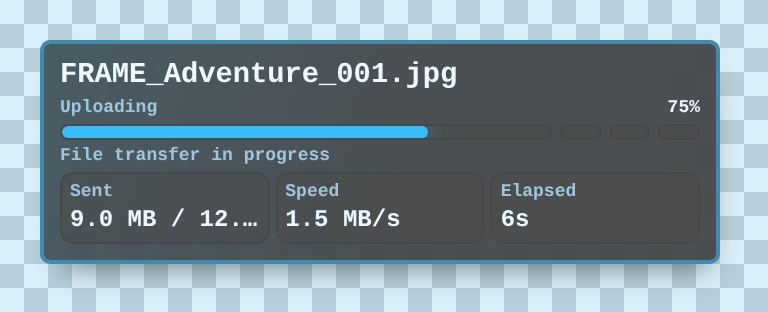
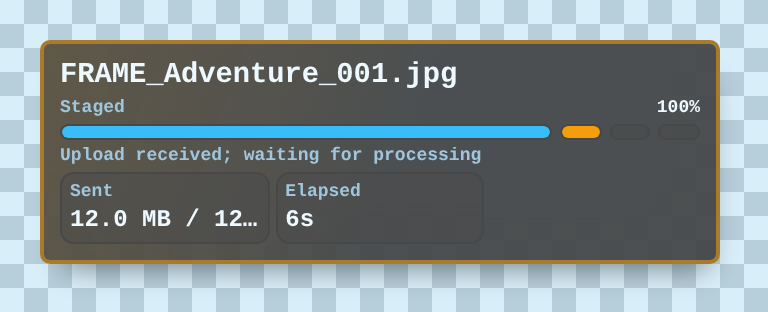
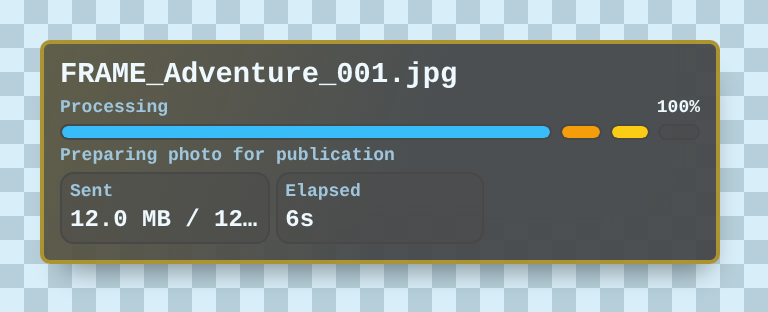
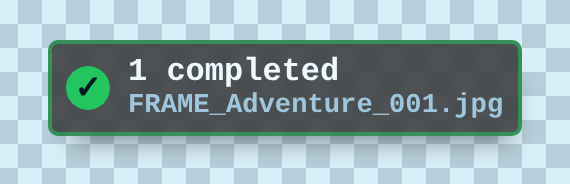
All five images are captures of the actual configured viewer, cropped around its output. The checkerboard is FRAME’s preview background, showing transparent areas. Your own overlay can use different settings. Explore setup
02 Try the idea
 A moment by the water
 The next photo is on its way
Try a color and a corner, then follow an example photo.
Ready to try. The example runs entirely in this page.
The controls and widgets here are simplified website illustrations, separate from the actual viewer screenshots above. These OBS scenes use simulated values. The photos are scene backgrounds. Nothing connects to FRAME or OBS, and no file is uploaded. These simplified controls change both examples; in FRAME, each Source has its own settings.
A file can finish uploading before the photo is ready to share.
Show transfer progress. A percentage is available when the total file size is known.
The file has arrived and is waiting for Photo Pipeline to prepare it.
Photo Pipeline is working. This stage does not imply a processing percentage.
A short confirmation marks publication to the collection used by Gallery and Photo Stage.
Example timing is illustrative. FTP can show bytes and speed without a known total; it does not always have a percentage.
Your scene, your choices
Give information a place in your broadcast, with control over how much appears.
Show, hide, or reorder stream measurements. For photos, choose upload details, queue size, and what happens while idle.
Adjust colors, fonts, size, and placement. Give each upload stage a color and position the overlay using a nine-point anchor.
Use the editor’s sample data to check the output, including different photo upload stages.
Edit an existing Source in FRAME and keep using its URL in OBS. Deleting that Source removes its link.
03 Where it fits
Overlays turns their status into something you can put on screen.
Connection measurements from your selected stream.
FOR PHOTO PROGRESSTransfer, waiting, preparation, and publication updates.
The overlay appears over your other scene content.
Want to present the photos themselves? Photo Stage lets you choose a prepared photo for OBS. Follow the photo workflow
04 Make it part of your setup
The wizard runs in your own FRAME installation. Open it through Portal, then add the output to OBS.
Read Overlays setupChoose Overlays in FRAME’s guided setup. The current installer also enables Video Relay, with Stream Management. For photo progress, enable your photo input; FRAME includes Photo Pipeline with its photo tools.
Open Overlay Wizard from Portal. Choose a feed, name the Source, and use the appearance controls and sample preview to make it yours.
Copy the Source’s OBS URL into a Browser Source and set dimensions to suit your scene. Return to FRAME to edit the same Source later.
Start on your local network. If OBS runs on another computer, use a FRAME address reachable from that device; localhost refers to the device opening the link. Treat the copied OBS URL as a private link: anyone who can reach it can view its output.